Folding tool kit handles - About and Fitting guide
 |
| 1.1 HPE tool kit shadow foam layer handles |
Contents
B) Fitting guide
A) Intro - About the Folding tool kit handles
Fitting our tool kit handles is easy and adds a really professional look to your shadow foamed tool kit layers.
 |
| 1.2 20mm base plate |
Considerations before buying
 |
| fig 2.1 20,30,50mm base plates |


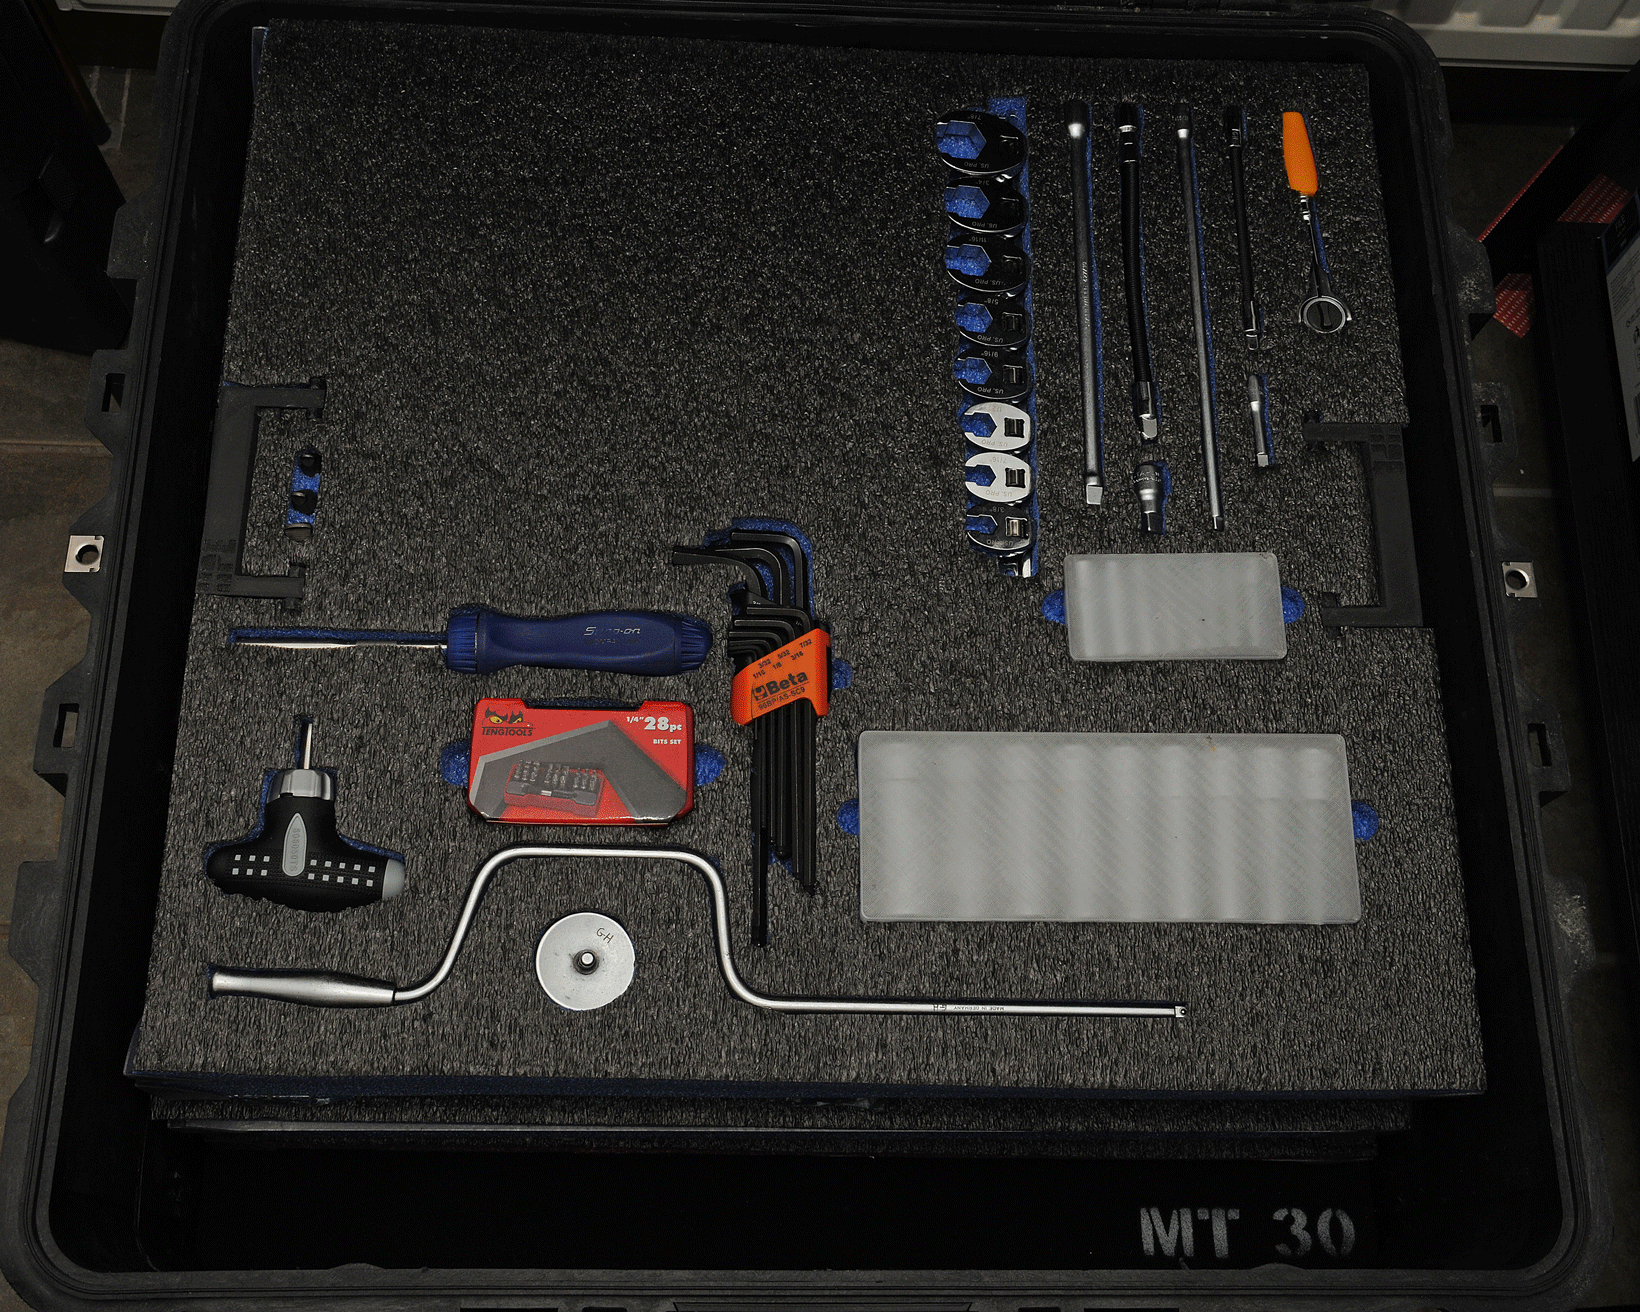
- Tool box(Peli Case).
- Tool foam (Easy peel foam).
- suitable backing material (1mm alloy or composite fibre sheet).
- Tool kit handles to match the thickness of the foam, 1 set per layer 20/30/50mm (see figs 2.1-2.2).

- 8x M3 washers or spreader plate per layer (Optional).
- 8x M3 dome head fasteners per layer to secure the handles to the backing material:

Bolt length Formula
Once you have picked your easy peel foam and backing material you will now be able to order the correct length bolts for your handles.| Base plate height | Formula | Formula cont' |
|---|---|---|
| 20mm | base material + washer thickness + | 6 to 7mm |
| 30mm | -"- | 6 to 17mm |
| 50mm | -"- | 6 to 37mm |
| 30mm Example | 1mm + 1mm + 6 to 17mm | =8 to 19mm |

fancy corner protection too? Corner protection not only protects your foam from damage, they also look great and help with stacking. Maybe get some of these and fit them at the same time.

We also offer a much smaller handle called the Mighty small handle. These are great if you were thinking of making removable sections or a much smaller kit a bit smaller. This saves on space when a larger handle isn't needed as well as being unbelievably light weight yet super strong.
B) Fitting guide
If you haven't already; cut the foam and backing material to the size required for your tool kit, keeping the edges as square as possible.
3.1 Place handles inverted, with legs pointing up, ensuring they are correctly orientated so the long edge is on the outside (see fig 3.1 for position) on either side of the foam where you want them to be. This will ideally be the centre line or alternatively: if you know this shelf will be out of balance, you can mount the handles at the centre of balance instead to make carrying the layer easier and reduce stress on the handles and backing material.
You can double check your alignment by using Helpful PEte here by butting the lip up against the edge of the foam next to the handle and checking the base plate is in line. It is worthy of note here that some foam is not uniform in shape or depth so make sure you are square to the base material.
3.2 Cut round the handle part with a sharp scalpel to the depth of the handle. You might want to mark the blade of your knife with masking tape so you don't cut too deep. We found removing the first layer on easy peel foam got this bang on.
Cut round the base plates (Or use Helpful PEte as a less awkward template) through to the back of the foam. Be careful to cut straight down, this gets trickier on the deeper foam. Make sure you don't damage anything below the foam, a cutting board will help.
With your foam cut, you can now test fit your handle. Looking awesome? Lets finish this thing!
- Take your foam sheet (with handles removed if you test fit them) and place it on your backing material taking time to align it perfectly.
You now need to transfer the m3 bolt holes to the backing material from the handle base plates which is easily done with Helpful PEte.
Slide Helpful PEte in between the foam and backing material. The lip on the back of Helpful PEte should place his face at exactly the right depth allowing you to mark the 3mm bolt holes with a pen.


 |
| fig 3.3 Helpful PEte show aligned with base |
Assembly
- Now you can centre punch and drill 3mm holes on the backing material.
You are ready to assemble so now would also be a good time to fit corner protectors which we also sell, and we have a guide for fitting those too which you will be doing concurrently.
Grab your m3 fasteners you chose earlier for fixing the handles. The length is important to get right to ensuring correct nut engagement without damaging the base plate so if you missed that step, scroll up a bit to the bolt length formula. Try and run the bolts down each nut to ensure correct alignment. Do not try and force it or you might damage the base plate or strip the threads. If the bolt hole and nut isn't perfectly aligned or is a bit tight you can try to carefully realign with a scribe or ream the hole with an m3 reamer/drill bit (3D printing has a habit of making holes oval). Give everything a quick test fit before you get the glue out.
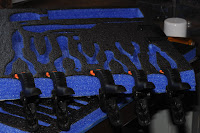
fig 3.6

- Use adhesive on the foam and backing material before finally bolting the handles in place with m3 fasteners and optional penny washers/spreader plates on the underside of the backing material. Do not over tighten the bolts or the base plates may crack. You will need to clamp or weigh down the foam layers to help the adhesive whilst it dries (fig3.6).
Now step back and admire your work. We know it wasn't easy to shadow foam your tool kit but as a professional engineer, or an enthusiast, you are setting the right image to your customers.
 |
| 4.1 A satisfying job done |

Comments
Post a Comment